How to Make a Photo Calendar Online: Step-by-Step Guide
A personalised photo calendar is a simple way to turn your favourite photos, artwork and memories into something you can enjoy throughout the year. Instead of choosing a ready-made calendar, you can decide the format, photos, design and even the month your calendar begins.
Whether you want a compact calendar for your desk, a personalised wall calendar for your room, or a thoughtful gift, here is how to create your own photo calendar online with Zoomin.
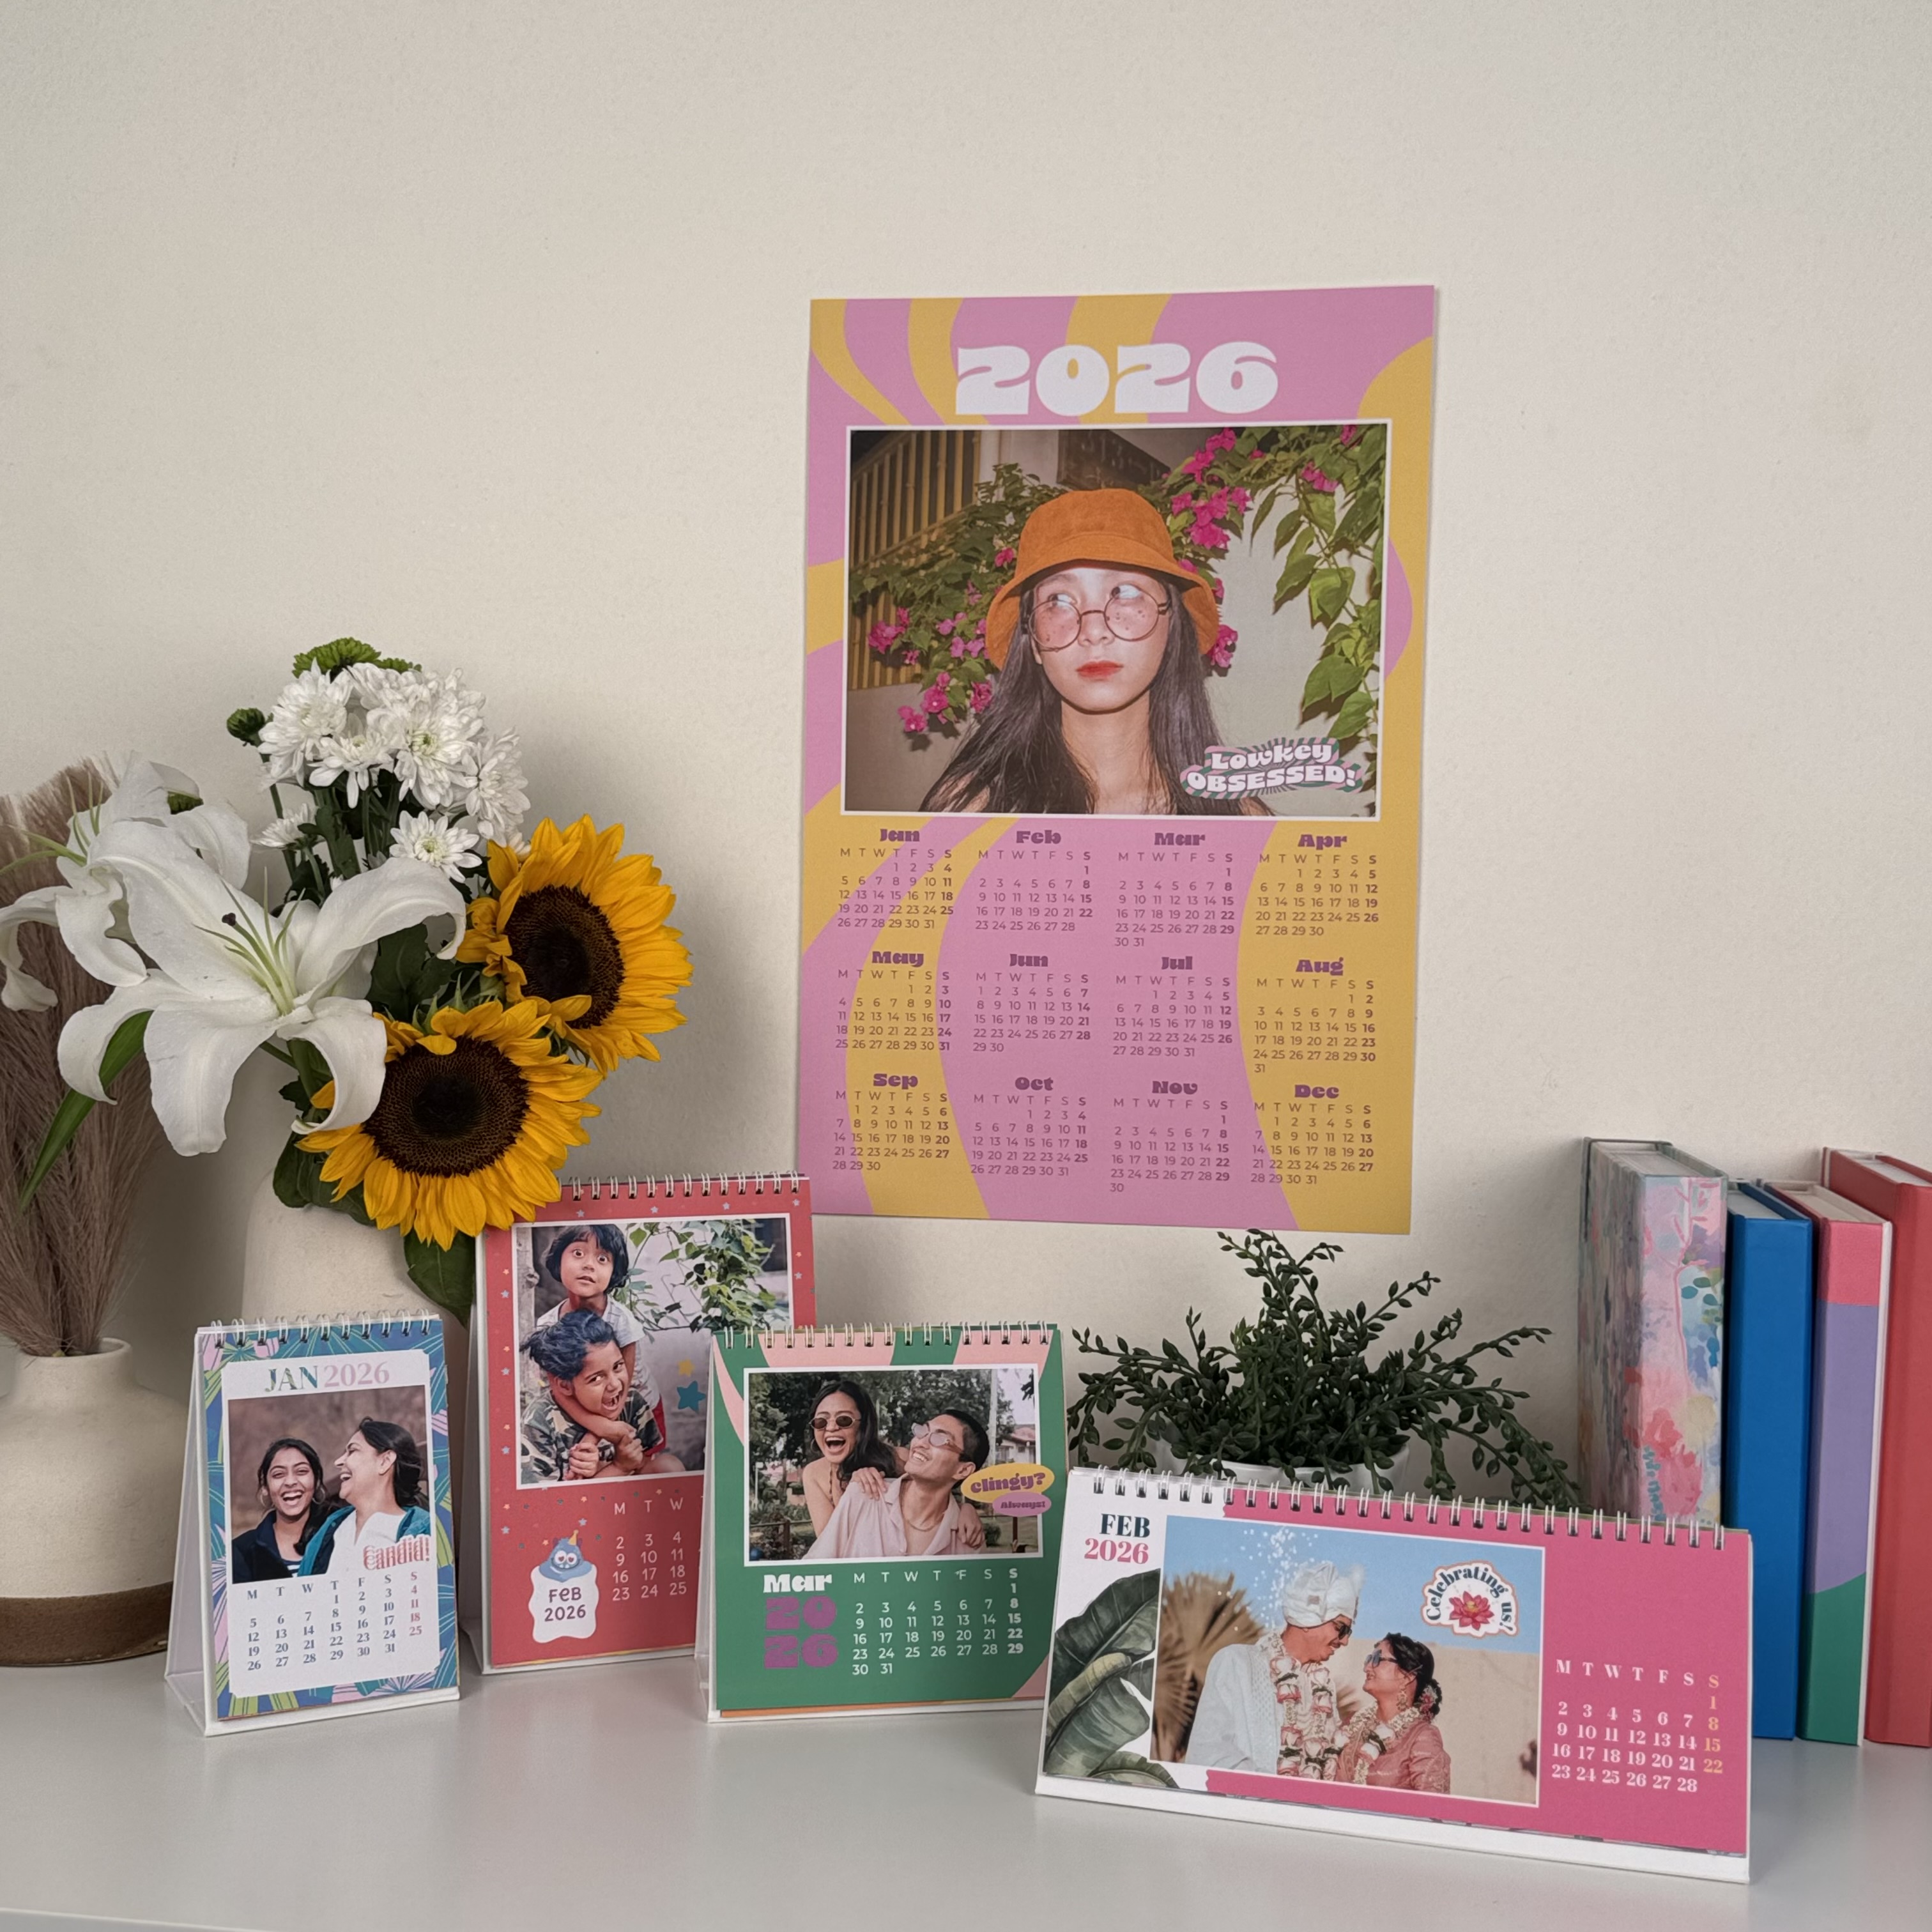
Step 1: Choose Your Photo Calendar Format
The first step is deciding where you plan to use your calendar. A calendar for a work desk will need a different format from one designed for a bedroom wall or refrigerator.
If size is an important part of your decision, see our Calendar Sizes Guide for a detailed comparison of desktop, table and wall calendar dimensions.
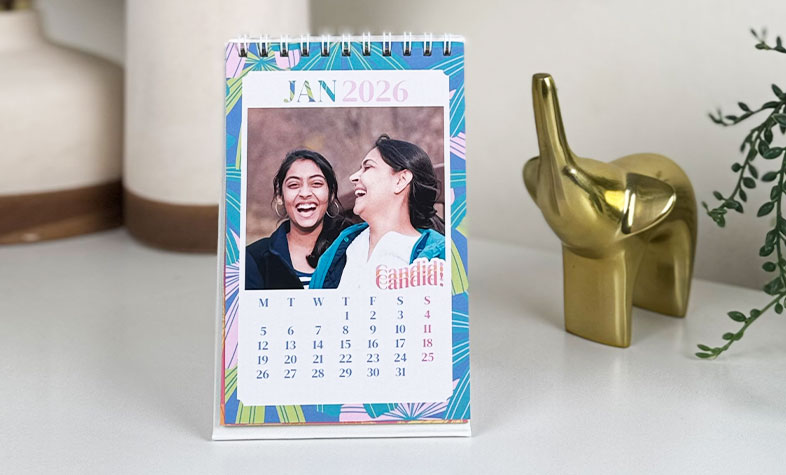
Step 2: Choose Your Photos, Artwork or Designs
Your calendar does not have to contain only family photographs. You can personalise each month using images and designs that match your interests and style.
Ideas for your calendar
- Family and childhood photos
- Travel memories
- Couple or wedding photographs
- Pet photos
- Kids' artwork
- Your own illustrations or digital art
- Photography projects
- Motivational quotes or affirmations
- Sports and hobby memories
For a 12-month calendar, start by shortlisting photographs or designs that you would enjoy seeing throughout the year. You can keep one visual theme across all months or change the mood and style from month to month.
Step 3: Pick a Calendar Design or Theme
Once you have selected a calendar format, choose a design that complements your photographs rather than distracting from them.
Zoomin offers a range of designer themes, from clean and minimal styles to colourful, playful and contemporary layouts. Choose a design based on the type of images you plan to use and where the calendar will be displayed.
For example, a simple layout can work particularly well with travel photography or artwork, while brighter designs may suit family photos, kids' pictures or gifting.
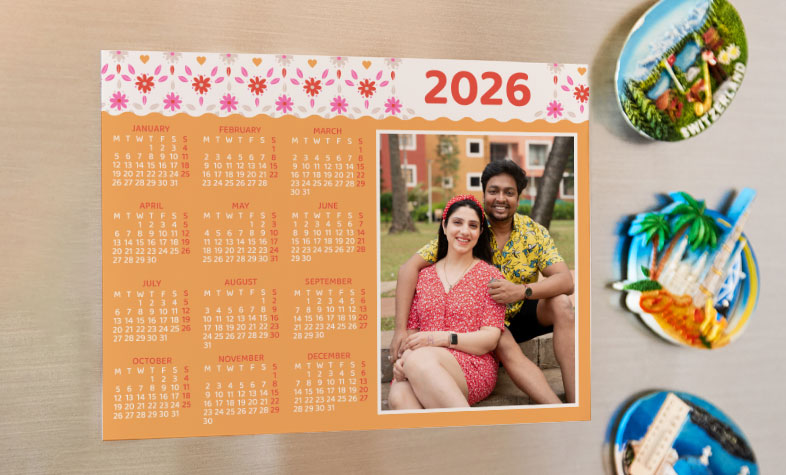
Step 4: Upload and Arrange Your Photos
Upload your selected images from your device or Google Photos and start placing them into the calendar layout.
Quick photo checklist
- Use good-quality original images whenever possible.
- Check how each photograph is cropped inside the selected layout.
- Keep faces and important details away from crop edges.
- Use landscape photographs in wider layouts where possible.
- Use portrait images in layouts that give them enough vertical space.
- Preview every month rather than checking only the first few pages.
You can rearrange or replace photographs as you build your calendar until each month looks right.
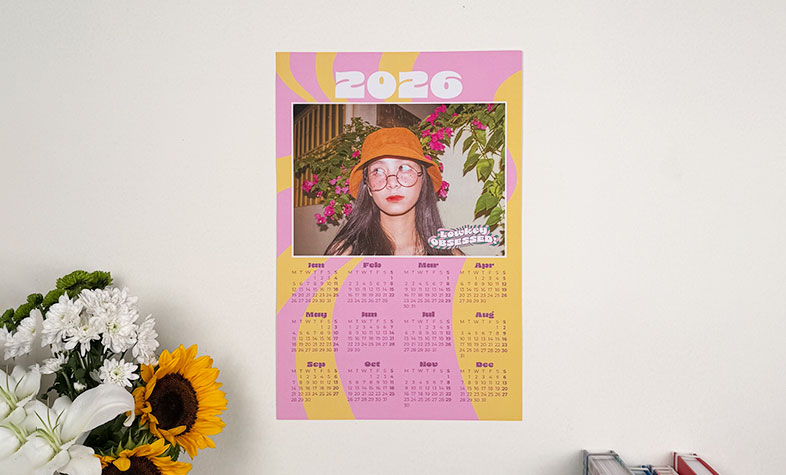
Step 5: Personalise Your Calendar
This is where you can make your calendar feel more personal. Depending on the selected design, you can customise your calendar with photographs, text, quotes, stickers and other creative elements.
You could use a favourite quote on one month, a travel memory on another, or create different visual themes for birthdays, anniversaries and special occasions.
You can also use your calendar as a reflection of your interests rather than simply as a collection of photographs. Artwork, illustrations and creative layouts can make a personalised calendar feel just as much like room or desk decor as a planning tool.
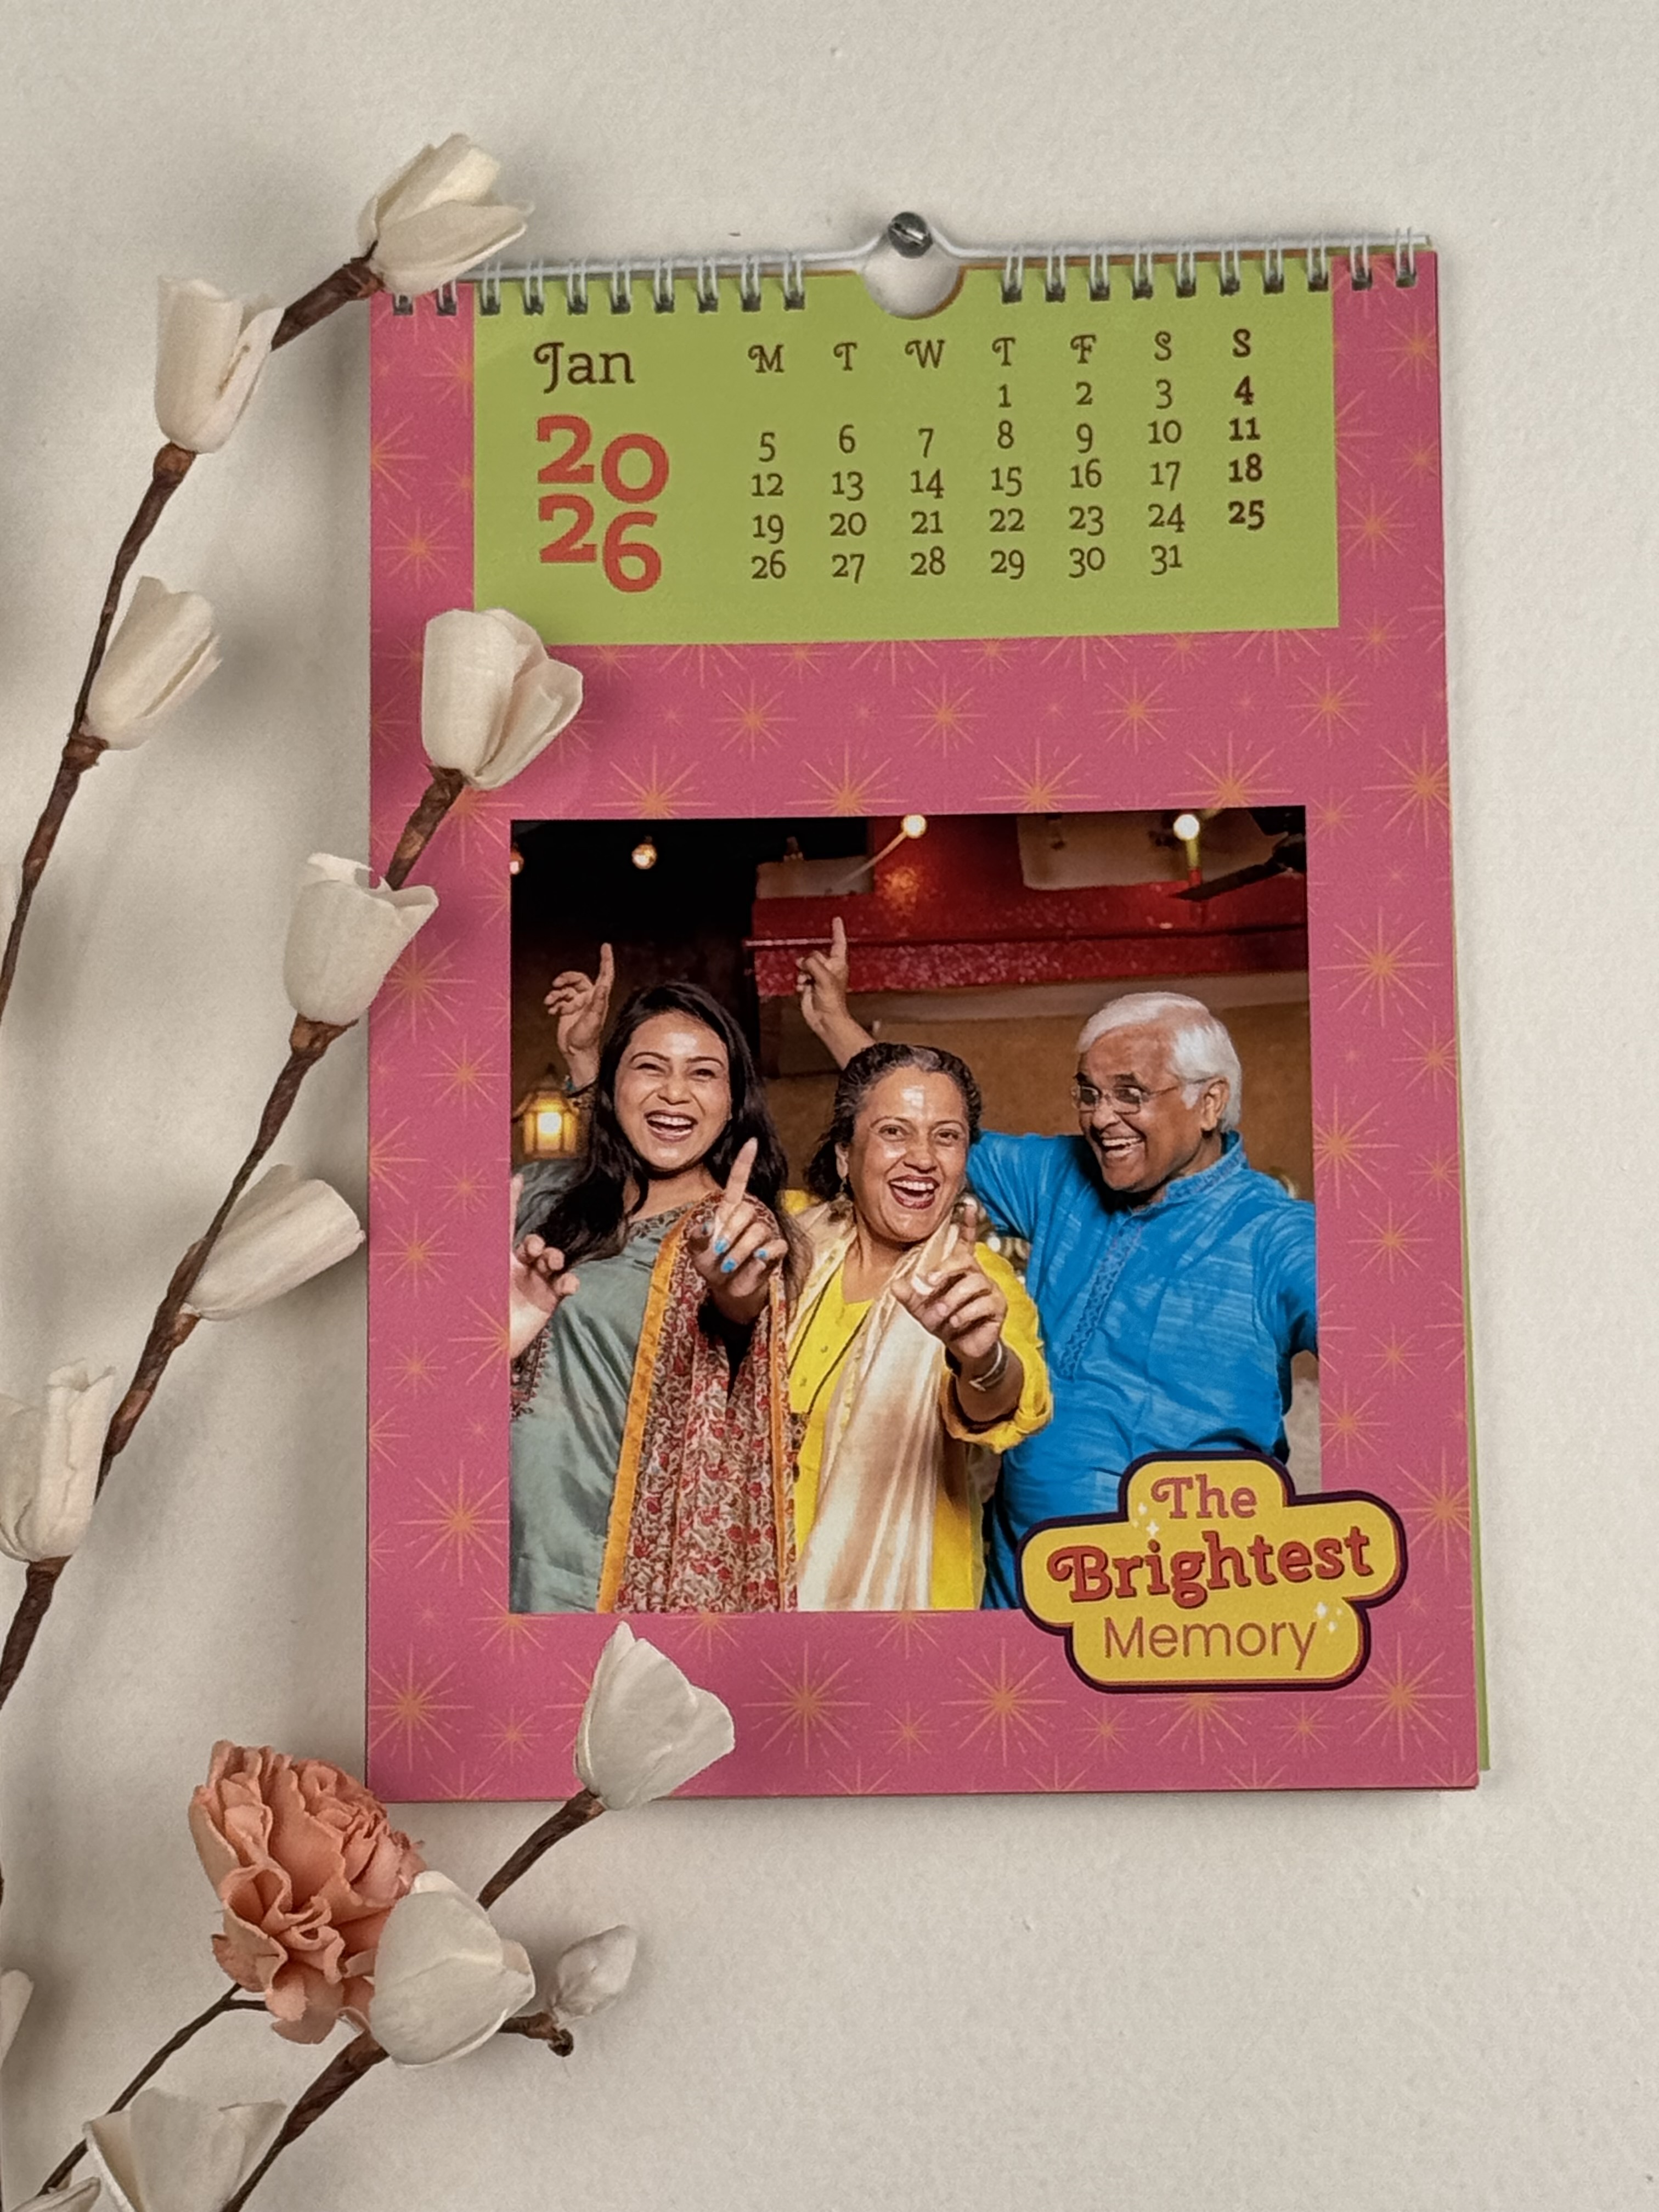
Step 6: Choose the Month Your Calendar Starts
Your calendar does not have to begin in January.
Zoomin allows you to choose the starting month while creating your calendar, which means you can make a 12-month calendar at different times of the year.
- A birthday
- An anniversary
- The beginning of an academic year
- A new job or workspace
- A house move
- Corporate gifting
- A mid-year desk or room refresh
Instead of waiting for the next January, your calendar can begin when it makes sense for you or the person receiving it.
Step 7: Preview Your Calendar Before Ordering
Before adding your calendar to the cart, go through every month once more.
Final check before ordering
- Check that the correct photographs appear in each month.
- Make sure important parts of images are not cropped.
- Check any text or quotes for spelling mistakes.
- Confirm the calendar format and size.
- Confirm your selected starting month.
- Review the overall design and photo placement.
Once everything looks right, complete your order and your personalised calendar is ready to print.
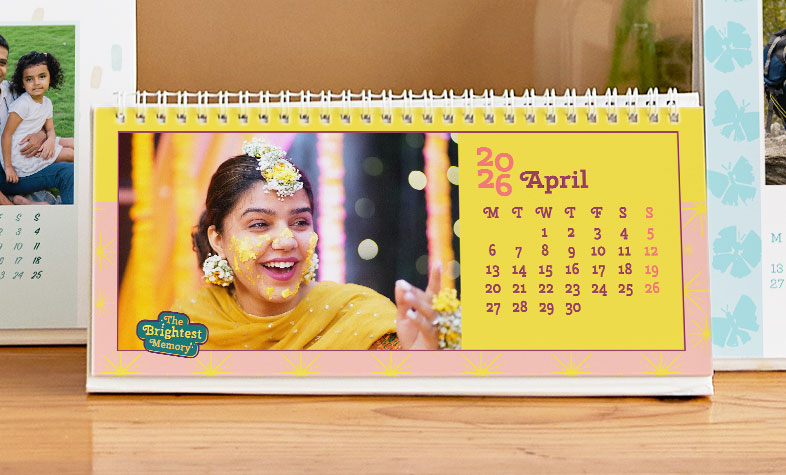
Tips for Choosing Photos for Your Calendar
You do not need twelve perfect photographs taken specifically for a calendar. A good photo calendar often works best when it tells a story across the year.
You could organise your photos chronologically, choose one favourite memory for each month, use images that match the seasons, or build the entire calendar around one theme such as travel, family, pets or artwork.
If you are creating the calendar as a gift, think about photographs that will mean something to the recipient rather than simply choosing your most recent images.
Frequently Asked Questions About Creating Photo Calendars
How do I make a photo calendar online?
Choose your preferred calendar format, select a design, upload your photographs or artwork, arrange and personalise each month, choose your starting month, preview the calendar and place your order.
How many photos do I need for a photo calendar?
You can begin with at least one main photo for each month, but the exact number will depend on the calendar design and layout you select.
Can I use artwork instead of photographs?
Yes. A personalised calendar can also be created using your own artwork, illustrations, creative designs, photography or other suitable images.
Can I add text, quotes or stickers to my photo calendar?
Yes. You can personalise your calendar further using text, quotes, stickers and other available design elements.
Can I start my photo calendar from any month?
Yes. You can choose the starting month while creating your calendar, allowing you to make a 12-month personalised calendar without waiting for January.
Which calendar size should I choose?
The right size depends on where you plan to use the calendar. Smaller desktop formats work well for desks and study tables, while wall and poster calendars offer greater visibility. See our Calendar Sizes Guide for a complete comparison.
Can I create a photo calendar as a gift?
Yes. Personalised calendars work well for birthdays, anniversaries, family gifts, graduation memories, corporate gifting and other occasions because the photographs and design can be tailored to the recipient.
More Calendar Guides & Ideas
Explore more guides to help you choose, design and personalise your calendar.
Calendar Sizes Guide
Explore personalised calendar gifting ideas for friends, family and special occasions.
Create Your Own Photo Calendar
From compact desktop calendars to wall, magnet and poster formats, you can create a calendar around your photographs, artwork and personal style.
Explore Photo Calendars

 Gift Finder
 Gifts for Occasions